Showing posts with label Carpentry. Show all posts

Tuesday, December 20, 2016

The Finale

Our renovation has officially ended a couple of months back, but we were still getting our stuffs ready, hanging up clocks and photos, setting up new gadgets and completing our home. With our housewarming party due the following week, we did a mini photoshoot of our house so that we could compare how much transformation the house has gone through. We have always seen others posting their before and after photos so we had made it a point to do it too, else it is too late once the walls starts coming down and the carpentry up. So for those that does visit this blog, here is the preview of our home....

The entrance, where we had sealed up the original door to the kitchen.

Our shoe cabinet which also concealed the unsightly bomb shelter door.

The view of our living room once we step into our home.

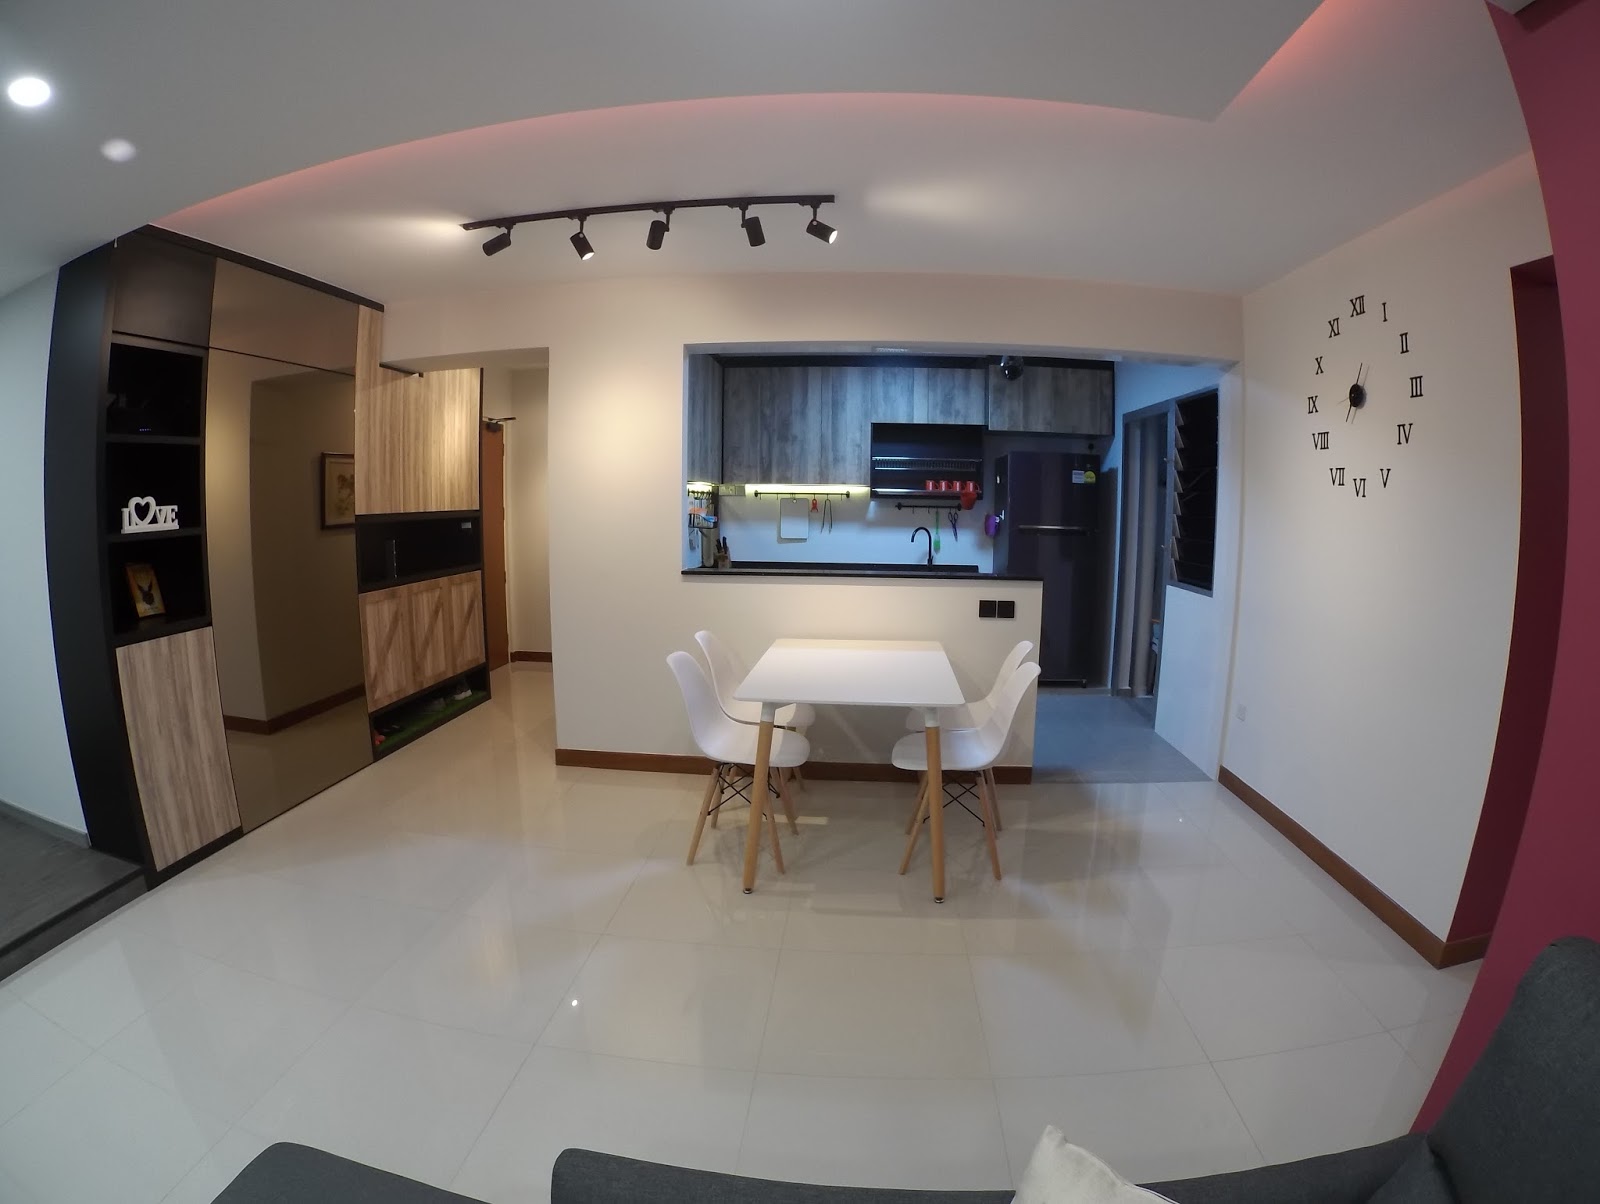
Here's the open concept kitchen as well as the entrance to it.

Presenting the deep-end sofa for us to lie down comfortably to enjoy our movies.

A custom made sword case as our tv console. And a plain wall behind it.

which transform to anything we want at a touch of a button.

Open-concept kitchen which we have not been cooking much.

and the other end of it with our service yard behind those doors.

The corridor splashed with maroon and the doors framed black.

Our recreational room where we work out and namaste.

keeping the room simple so that it could be anything we want next time.

Here's our study area where we get the work done.

Took down much of the walls to combine both rooms into one.

Bedroom cum study room cum walk in wardrobe.

Our platformed curb for our beauty sleep.

which opens up to store (and hide) our future belongings.

Our wardrobe which closed up the original door to the masterbed room.

and the other side of the wardrobe.

A little changes to the toilet, with the toilet bowl remaining constant.

and finally, how our vanity cabinet had enlarged to this.

This is home... truly...

Friday, November 25, 2016

Quality does Matter - Bedhead Lights

Previously we had bought our LED strips from Qoo10 in our attempt to save some money considering that the whole package cost at least one-fifth of what the local lighting shops are selling at. Most of them were working fine, except our bedhead ones which burns out every 30min. We assessed the fault to lie with the adaptor, and suspected that it could have overheated in that enclosed cabinet. Regardless, it was quite disruptive having to off-on the switch again only to have it burn out again in 30min. Thinking it was a faulty adaptor, i ordered another adaptor from Qoo10, and that burned out in like 5min. Zzz.

So i decided to head down to my local lighting store to get their expensive adaptor which look like this, and it definitely feels better than those laptop-charger-like adaptors from the Qoo10 seller. At almost three-times the price, it better be good. Turns out, it did work, and the burn out issues did not happen again.

Now we could enjoy some proper ambiance lights at our bedroom without having it blackout every now and then. Fortunately though, the other adaptors for my LED strips at the kitchen and living room had no issues so far, but if they do burn out, I know the appropriate solution now.

My ID had also made a fitting box for the adaptor as it could not fit inside the bedhead. Not the ideal situation i have to say, but this does make it look better than having the adaptor exposed in this shelves. Hopefully, it does not cause it to overheat further.

Thursday, September 1, 2016

Remote Control, the Key to Achieving Laziness

Throwback from a previous post when i introduced the Livolo switches. Just a recap, the switches i have gotten are not just touch panels, but are remote controllable. There are two types of remotes, with one being more advanced and can toggle up to 10 buttons and scenes but it's more expensive and I have no need for that because I will be integrating all into my phone soon and so i got the other remote, that is shown above. However, one is not enough for all the switches in the house so.....

I got a small army of it. The reason why i got so many of it is so that my phone would be able to control all the switches uniquely. You may just jump to the next picture if this technical stuffs bores you but I will just briefly share it.

Firstly, to control every switches from my phone requires my Broadlink RM Pro to learn the radio frequency (RF) code. There are programs out there that can decrypt and create RF code, but I felt that it is too complicated for now, and so, it it easier to just learn the RF code. When pairing the remote with the switch, an unique RF code is created. By learning this particular RF code, the Broadlink RM Pro is able to broadcast the code as if the remote is sending it. This also mean that i am unable to unpair the remote-switch, because that would render the learnt code useless. By not being able to unpair, I am not able to use one remote to create multiple codes, hence the need for me to get multiple remotes to create multiple codes for all the switches in the house. Positively, each button of the remote is able to pair with multiple switches, allowing me to switch on the living room lights and the kitchen lights together. However, i would not be able to control them separately unless there is another remote that is paired separately. Hope this provides some understanding.

I also tagged each remote so that i know which switches are controlled by them. Ideally, they will all be kept away next time because our phones would be able to control everything. However, i have left some of them lying around at designated spots to provide the ease of switching on some switches that are not found within reach. I am still looking out for a tablet at cheap prices so that it can act as the bridge for my home automation so that we could even control our house switches when we are not at home. Till then!

Side note, black is a color that allows dust to be clearly visible. This means more cleaning effort because it looked dirty very fast. Perhaps that is why pure Scandinavian theme is low maintenance but not our modified-white-become-black Scandinavian theme. However, the worst ought to be Industrial theme.

Wednesday, August 17, 2016

Few more Minor Touch Ups

Ever since we officially moved into the house, we have brought many electronics into our home. Due to their high values, we insisted in replacing the number lock to our house with a legit padlock. This way, it is more secure than a number lock, which could be broken into in less than a minute, and it also restrict the contractors from entering without the supervision of my interior designer. However, such security resulted in a standstill in our renovation. It has been almost a month of no updates, and it is slowly draining our patience out. The only thing that is making us hold on is that we constantly find new things to get our contractors to touch up or install, so it all works well somehow.

Just a rough list of what there are to do....

Wild hairline cracks appeared at our entrance. It is not obvious but upon a closer inspection, it becomes hard to ignore. A repaint job would have to be done.

Previously had plastered the ceiling, but because it was so similar to the ceiling paint, we missed it out and only found out several days later. Touch up paint would be required.

Several grout lines has some holes on closer inspection. Although this was probably there since the beginning of time, our designer said it could be fixed up and he can take it up so we are looking forward to it

We had requested for this netting thing to be changed to an acrylic board so as to prevent cobwebs and dusts from collecting, and also it look nicer with the toilet ambiance lights. Still waiting for the acrylic boards to be delivered and put up.

Had installed LED lights at our bedhead, and the drivers are placed in the display cabinet at the side. Had requested for a cover to be made to hide the drivers, and is still waiting for it. There were also some problem with our lights, where it kept losing power after a while, and had requested for our electrician to take a look at it.

After trying our designer tap for a while, we really dislike it and intend to change it. The water power is too low, and the water stream is too close to the edge. Kind of an installation issue when they drilled the holes on the quartz top, but a change in the tap should fix the issue.

Where the walls meet the floors will often have gaps like this. It is unavoidable, but that is the reason why trimming are always used around the house. Here shows an area of the wall where the trimming was forgotten and the hole was visible. Now we need it to be covered up.


Another area where there the trimming is missing, but because this area is quite small, we would be covering it with the brown sealant to cover the gap.

And lastly, because we had chose for such a bold solid color, the painters need to apply many layers of coat to achieve the desired result. However, this also mean that the paint is prone to being chipped off whenever we accidentally knock something against it. Here is yet another hole that require to be painted over again due to our carelessness. Being extremely careful is the price to pay for having our walls painted with such bold colors.

Would there be more discoveries after another round of inspection?